Primary Bath Reno, Part 1

Where it all began!
Let me catch you up first on what happened prior to this week. I’ve been dreaming up this bathroom renovation for over two years! It’s been put on hold multiple times as more pressing things have taken priority. So, I’m very excited the day has finally come.
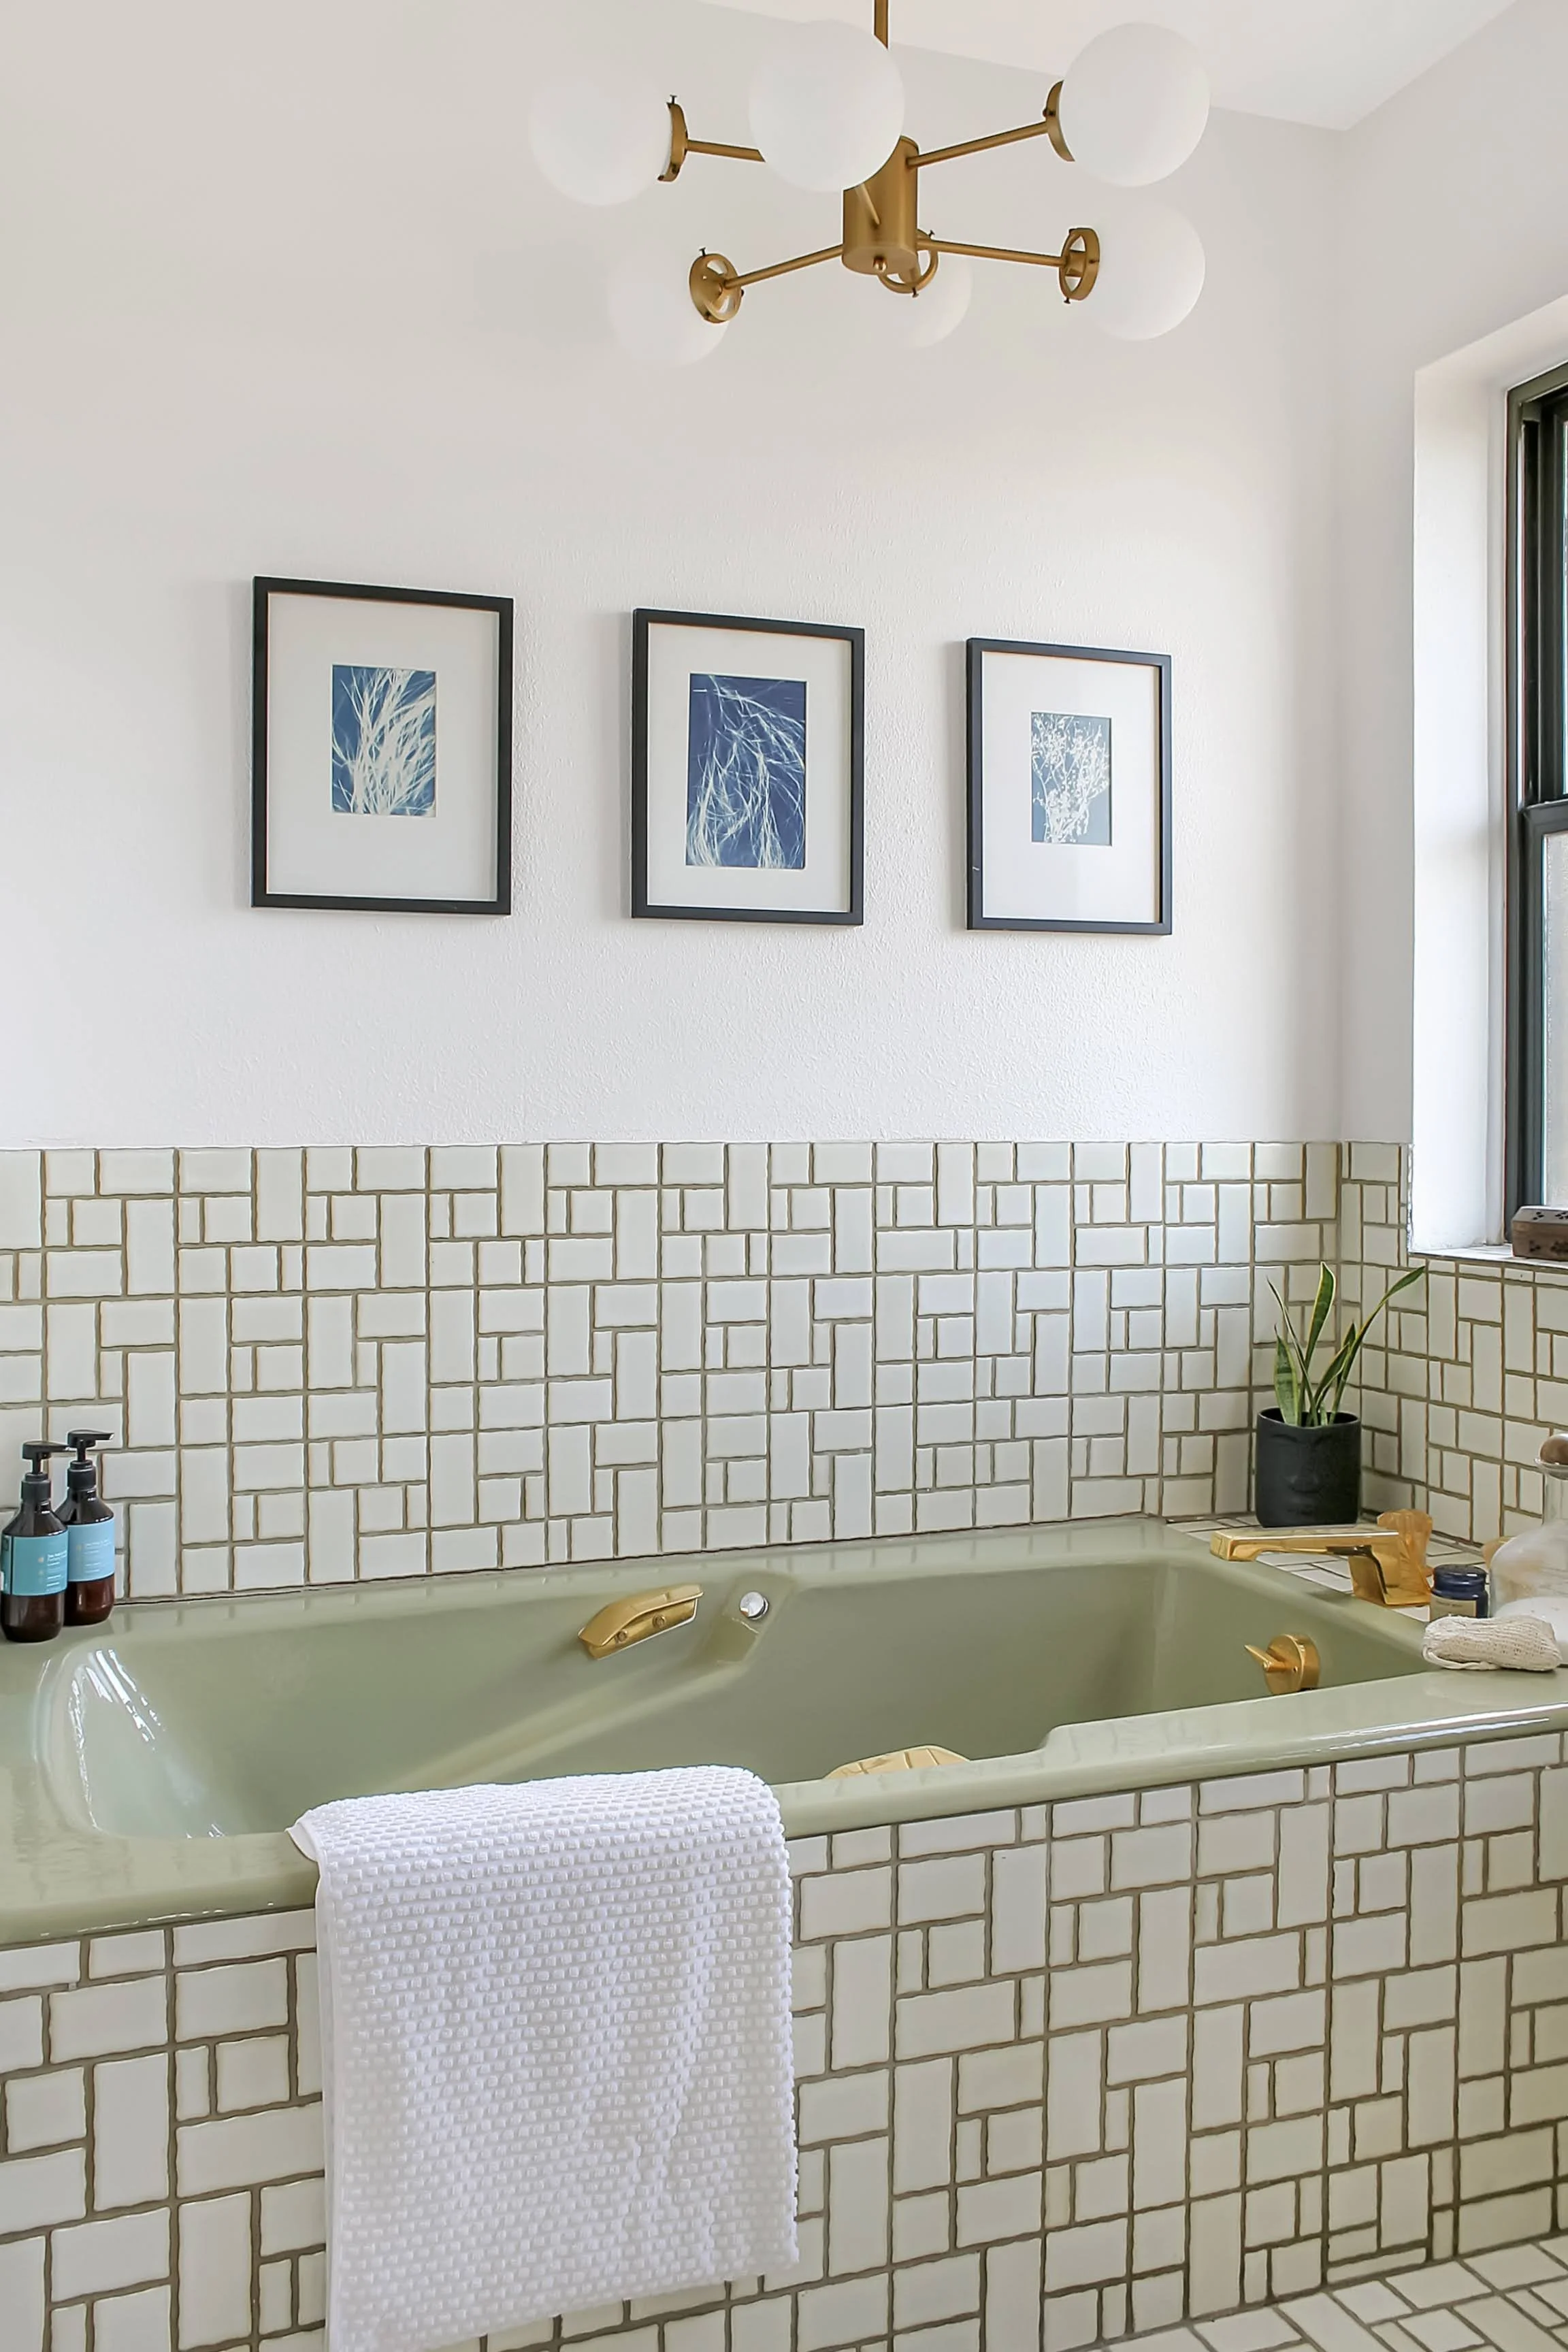
The above photo is what our bathroom looked like when we purchased the house. While we waited to renovate, I added some new lighting and styled the space so it felt more “me” until we could make bigger changes.
Can’t renovate yet?
Don’t let it stop you from making simple upgrades in the interim!
Why Renovate?
I actually really loved most of the bathroom as it was: the tile, the matching green tub/sinks/toilet, the gold fixtures. So why renovate?
The main driver was the dysfunctional shower. The shower head was mounted right at eye level, so we’d bump our heads on it daily. Most of the time I just sat down on the floor to wash my hair so I could avoid the issue. We tried a workaround by using an extender arm, but it didn’t work because all of the plumbing connections were welded behind the tile. We have to remove the tile to address the shower head height. Also, our shower knobs were starting to fail us. We’d keep a screwdriver in the shower so we can simultaneously tighten the shower knobs as we turned the water off. To address all of our shower issues, we’d have to remove everything. And while we’re at it, we might as well make our tiny shower a little larger, yeah? Yeah.

So many lumps on my head have been caused by this shower head.
One obvious issue with our bathroom: carpet. Enough said, right?
Lastly, the layout of our existing vanities and the wall separating them from the tub/shower area was not working for us. The wall blocked the only natural light in the space. One of the sinks in the vanity hadn’t worked the entire time we lived in this home, and the L-shaped vanity made things a little awkward if we were both using the space simultaneously. We did salvage the cabinets and reused them in the garage, along with all other cabinetry we’ve removed from the house.
The Plan
With all of the above in mind, I started working on plans quite some time ago. Although I knew I’d be removing a good bit of the existing tile, I planned to salvage as much of it as I could. While it’s not much, I am able to keep some of it around the tub and toilet!
Thankfully, after we’ve done a bit of demolition, we found no water damage anywhere. My hope to keep our vintage green tub and toilet is happening! Unfortunately, the matching green sinks won’t be able to stay because they don’t fit the vanity, but I’m saving them to possibly use in Ivy’s bathroom if/when I get around to updating that space fully.

New primary bath layout with separating wall removed and shower enlarged.
With a space plan in place and some existing features salvaged, I started to choose the remaining materials to round out the bathroom. Below is a mood board of the materials I’ve selected - can’t wait to see the finished out the space!

Week 1 Progress
That brings us to today! Here’s what’s happened so far in Week 1 of the renovation:


Demolition: Other than the obvious demo, we also removed a cabinet in our hallway that backed up directly to the back of our shower (see above). The cabinet wasn’t something we actually used, so we have captured that space to enlarge our shower.
Plumbing: Updated plumbing has been run throughout the bathroom to accommodate new fixtures for the sinks, bathtub, and shower.
Electrical: Electrical work has begun, which includes moving overhead vanity lighting to sconces, relocating plugs, new vents, and other odds and ends.
Stay tuned for more! Don’t forget to subscribe here if you want to be notified of updates.